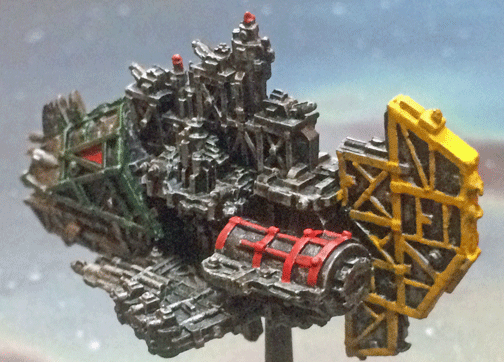
The Kill Kroozer is identified as the notorious Da Butcher, am ork warship not seen since 735.M41.
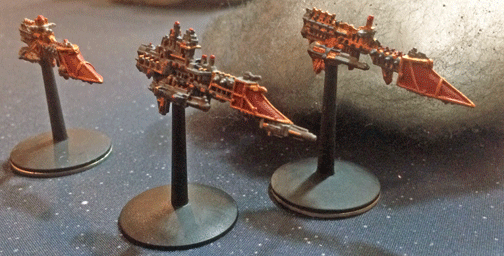
The Imperial Lunar-class Cruiser is perhaps the most widely used warship in the Imiperial Navy, with more than 500 in service in the Ultima Segmentum alone. Most effective when operating in numbers, the cruiser has enough armor, shields, and weaponry to hold its own in a Void fight.—Encyclopedia Imperious Nautico, 649.M40 Edition.
Ramming Ships

Imperial ships maneuver toward a gas cloud, where they hope to shake off the ork pursuit.
08:26—Captain Hypatos orders All Ahead Full! For reasons still unclear, the frigate squadron fails to receive the order, and a damaged plasma conduit prevents the Spear of Argos from accelerating as well.
A port weapons battery on the Spear of Argos manages a hit on the Kroozer. No serious damage is reported.
08:30—At close range, Imperial sensors compare the Kroozer’s hull configuration to known ork vessels. It is confirmed that the xeno warship is Da Butcher.
08:29—The surviving Ramship maneuvers for a second attempt at ramming—this time from outside the firing arc of the Spear of Argos’ weapons batteries.
08:31—The Ramship strikes home. Damage control teams report significant damage to the Imperial cruiser.
08:35—Although two ork ships have been destroyed, the surviving ships are behind the task force, allowing the greenskins to fire upon the Imperial ships with no danger of counterfire. All Imperial ships are ordered to turn hard to port and enter a small gas cloud.
Tactical Observation: Captain Hypatos had little choice but order evasive maneuvers. Enemy ships to his unarmed rear was a tactically unacceptable situation. By turning into the gas cloud, the patrol had the opportunity to disappear from the orks’ targeting sensors and, with luck, maneuver away from the orks and return to the fight from a more promising tactical position.
Breaking Off
 09:01—After 26 minutes inside the gas cloud, Patrol 17-01 makes a hard turn to port, just in case the ork ships have given chase. It is hoped that the maneuver will allow Imperial ships to put a safe distance between themselves and the ork vessels.
09:12—Imperial ships leave the gas cloud, having turned nearly 180 degrees from its heading at the start of the battle.
09:17—Sensors indicate ork ships are emerging from the gas cloud. Soon after, the xenos apparently locate the Imperial ships on their sensors and turn to give chase. Da Butcher fires its prow guns at the frigate squadron, but no Imperial ships are harmed.
09:22—With an All Ahead Full! order given, Imperial ships attempt to outrace the pursuing orks. The task force begins to pull away from the greenskins.
Tactical Observation: Captain Hypatos successfully extracted his task force from the ork trap. The Spear of Argos was damaged, but his frigate squadron were untouched, and two ork Ramships were destroyed. In theory, the tactical situation had shifted in his favor.
What Imperial sensors failed to spot was a sudden turn of the ork ships. Whether Da Butcher’s captain anticipated that the Imperial ships would turn back into the fight—or the orks were breaking off—the ork flotilla turned and entered a second gas cloud. This maneuver eventually put them—intentionally or not—on an intercept course with the Imperials.
Click here to read the battle’s conclusion.
Click here to return to Part 1 of the battle.
—
The Corvus Cluster is a Warhammer 40K blog documenting our gaming adventures in the fantastical sci-fi universe of Games Workshop.
Categories: Battle Report (Tabletop), Naval Battles
