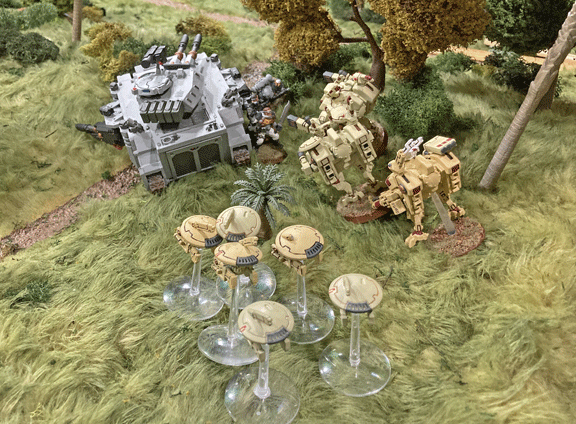
One Crisis Suit team, supported by gun drones, managed to outflank a Predator tank and destroy it.
“The battlefield is a scene of constant chaos. The winner will be the one who controls that chaos, both his own and the enemies.“—Napoleon, M2 warlord
* * *
Counterattack
The Tau response to our advance was unusually bold. They advanced their armor toward our center, while bringing up mechanized infantry and landing a second wave of Crisis Suits and Gun Drones amidst our troops, all in a bid to stop us.
This enemy force managed to disable a Vindicator tank and forced us to stop our advancing Rhinos, which disembarked their tactical squads and struck at the xeno battle suits.
Intense point-blank fire and hand-to-hand combat followed. Another Predator tank was destroyed by an advancing Hammerhead tank, and six Marines were killed by enemy fire. At this point, only two Crisis Suits and a number of gun drones remained, but they fought with a ferocity seldom seen in the Tau.
But our troops slowly encircled the xenos and hammered them with relentless fire.

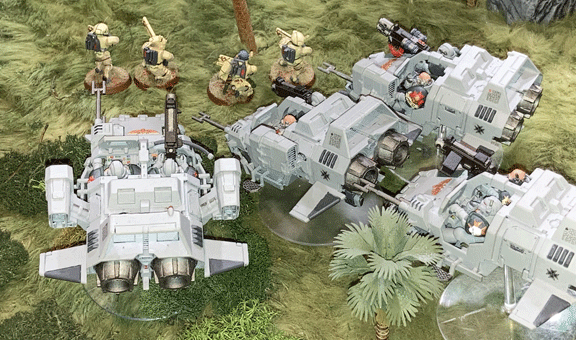
A squadron of Land Speeders sweep behind a Fire Warrior squad and annihilate it.
A bloody left flank
The attack by our Tactical and Assault Squads on the right flank paid rich dividends. Although the Crisis Suits proved very resilient, our Assault Squad finally brought low the xenos.
Meanwhile, the two tactical squads, supported by Heavy Bolter fire from their Rhinos, finally forced the second Crisis Suit team and its few surviving drones to flee.
What could not be driven back was the Riptide. Despite multiple hits by Plasma Gun fire, the giant walker physically shouldered aside our Scouts and charged toward the fighting in the center of our lines.
Once there, the xeno walker caused significant damage, opening up with its Heavy Burst Cannon. Several brave Knights fell, and a Rhino tank was shredded by the enemy’s shells. Only the timely arrival of a Sicaran Battle Tank saved the day, as its Accelerator Autocannons struck the Riptide’s chest armor and gouged a sizable hole in it.

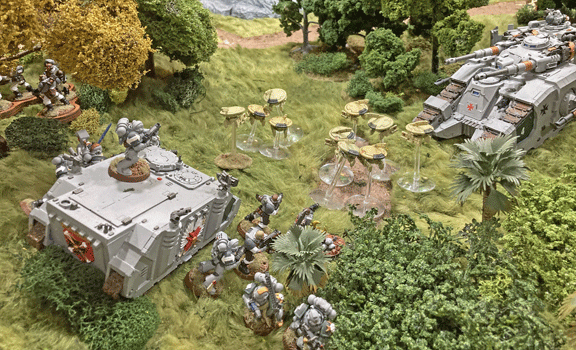
A huge force of gun drones drop into the middle of the Astartes’ advance, seeking to disrupt the attack. The Knights of Altair respond quickly and efficiently, surrounding the threat and destroying it.
Breakthrough
No longer beset by attack from above and our flanks, our forces resumed their advance. The rocky mound was taken, shattering the enemy’s right flank, and our armor advanced forward.
An hour before nightfall, our vanguard was behind the enemy, and we closed in. Beset on three sides, the xenos fled as the sun began to set.
At this point, Vivant ordered the 5th Company to regroup. Much of our armored forces were disabled or destroyed, and it was clear that we would need to refurbish our vehicles before we could pursue the enemy with any speed.

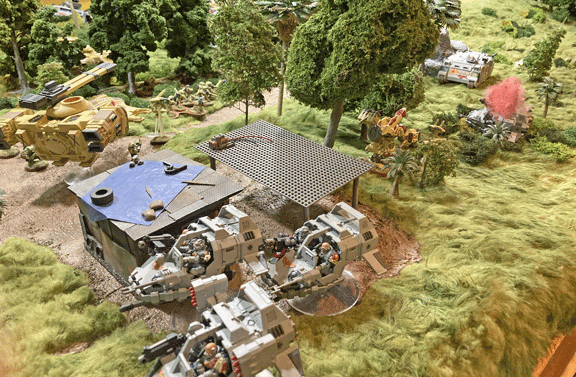
By the end of the battle, Astartes armor (top right corner) were advancing on the Tau flank. Meanwhile, Land Speeders were racing deep behind enemy lines, creating confusion, panic, and breaking the xeno will to fight.
Conclusion
Our victory was significant, and our casualties within acceptable margins. This was a solid victory by Vivant, and an important one. There has been some muttering in the ranks about our young captain’s earlier defeats.
But, this victory has raised the morale of our Knights. And, given that the captain successfully countered the enemy’s usually devastating aerial strikes, I have some optimism that we shall wrap up this campaign soon.
Alas,it is too late for us to join the Crusade Fleet across the Damocles Gulf. For I have learned the fleet has left the sector without us, and we shall not hear from them for some time.
Most Respectfully Offered,
Chaplain Allyr Numa
—
Scenario: The Scouring (6 objectives of various value)
Space Marine Victory Points: 4 objectives (10 v.p.) + Linebreaker (1 v.p.) = 11 v.p.
Tau Victory Points: 2 objectives (5 v.p.) + First Blood (1 v.p.) = 6 v.p.
Solid Space Marine Victory!
Click here to return to the beginning of this report.
—
TheGM: After three major battle losses, I was seriously wondering if Chaplain Numa would remove Captain Vivant and assume command of the 5th Company. That would have been a major embarrassment for my Knights of Altair Space Marine Chapter.
But Vivant learned some lessons from his defeats. He learned that Crisis Suits dropping behind you can lead to the utter destruction of your armor, a whole lot of infantry, and the battle. So, Vivant stayed put for two turns.
Once the Tau had committed the majority of their reserves, he tried to make up for lost time. But there was still some enemy reserves in the clouds above, and when they landed, they did enormous damage.
Fortunately, there were a number of high-value objectives in the center of the table, so Vivant had just enough time to seize them before the game ended.
A bit of luck? Yes. But the victors write the history. And Chaplain Numa is going to give Vivant the benefit of the doubt.
Whew! I didn’t want to retire Vivant’s miniature. I really don’t want to buy and paint yet another Space Marine captain. I’ve got enough officers painted for right now.
—
The Corvus Cluster is a Warhammer 40K blog documenting our gaming adventures in the fantastical sci-fi universe of Games Workshop.
Categories: Damocles Campaign
